How to create a no-code Gatsby CMS blog on Netlify for FREE

As a Software Developer with over 7 years of experience in web development, I possess a high level of proficiency and creativity. I am dedicated to continuously improving my skills and knowledge in order to excel in my field.
You can check out my demo link: Gatsby Blog Theme or if you are curious, take a look at my code repo.
Starting a blog can be an intimidating task at first, especially if you are not decided yet and you don't want to pay for hosting services. Maybe if you have the chance to start something for free, you'll give it a try and see how it goes from there.
While there are some good available options for managed platforms where you can publish your work (for instance: Hashnode, Dev.to, Medium, etc), you can have a go at trying to run your site as well.
In this blog post, I'll share with you, how to deploy your own Gatsby CMS blog to Netlify for free.
Overview of the tech stack
Netlify is a modern and secure hosting provider that will deliver your brilliant content into the wild web.
StaticCMS will be the very basic admin (it's a free solution after all ...) where you can edit your posts
Netlify CMS used to be the most popular choice, unfortunately, at the moment of this writing, its main package (netlify-cms-app) hasn't been mentained for quite some time ...
I understand that this project will be brought to life as Decap CMS in a foreseeable future.
While the first Decap version is yet to be determined, you can use Static CMS, an open-source content management system (CMS) that allows you to manage and edit the content of your site like Gatsby.
It provides a very basic user-friendly web-based interface for content creation and editing, enabling you to easily update the content without needing to write code or access the repository directly (probably the keywords you were looking for 😅).
Gatsby is a popular open-source static site generator built on top of React, that focuses on performance, speed, and SEO optimization, making it a powerful tool for building modern websites.
One of the key features of Gatsby is its ability to generate static HTML files during the build process, which makes websites built with Gatsby incredibly fast and efficient to load.
The great news is that Gatsby can be easily set up with Netlify so that your blog will be automatically built and deployed, whenever changes are made to the content through your CMS 💪.
The not-great news is that after you save your changes and your blog is rebuilt, it may take several minutes depending on your saved content (number of images, pages etc). However, I think that the benefits mentioned outweigh by far this minor disadvantage.
Netlify + StaticCMS + Gatsby = ❤
This will be my tech stack choice for a modern, powerful and free-hosted blog, accessed by today's users that are looking for snappy and fast websites.
Tutorial: Setup a CMS blog with no-code
I'll assume that you don't want to touch any code, you just want to find something to plug and play. The steps you should take are as follows:
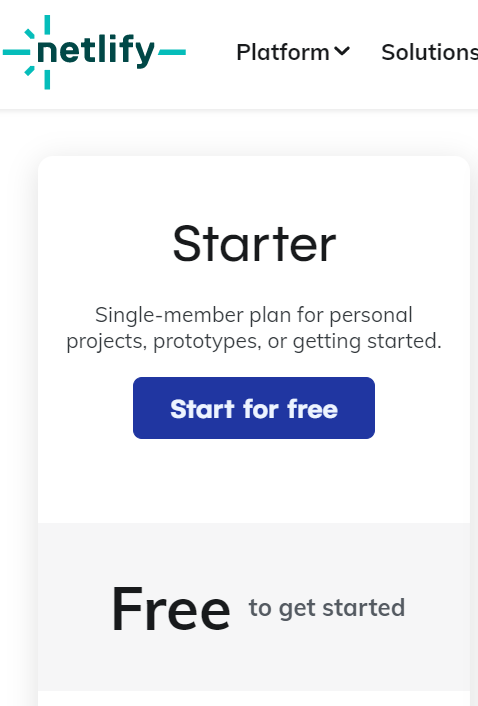
1. Create your Netlify account
The first thing you need to do is to create a Netlify account choosing the free tier available:
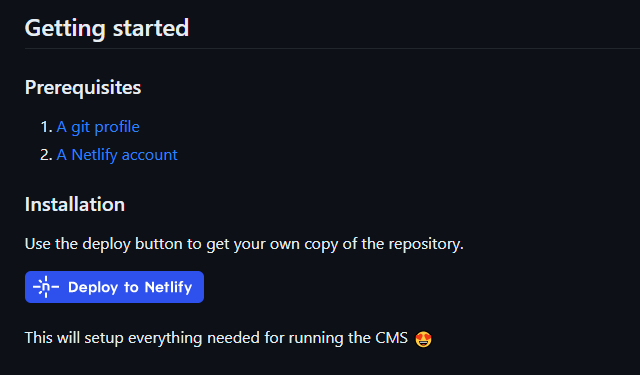
2. Deploy a StaticCMS template for a Gatsby blog
This one is as simple as clicking a button on the Deploy on Netlify link, under Installation:
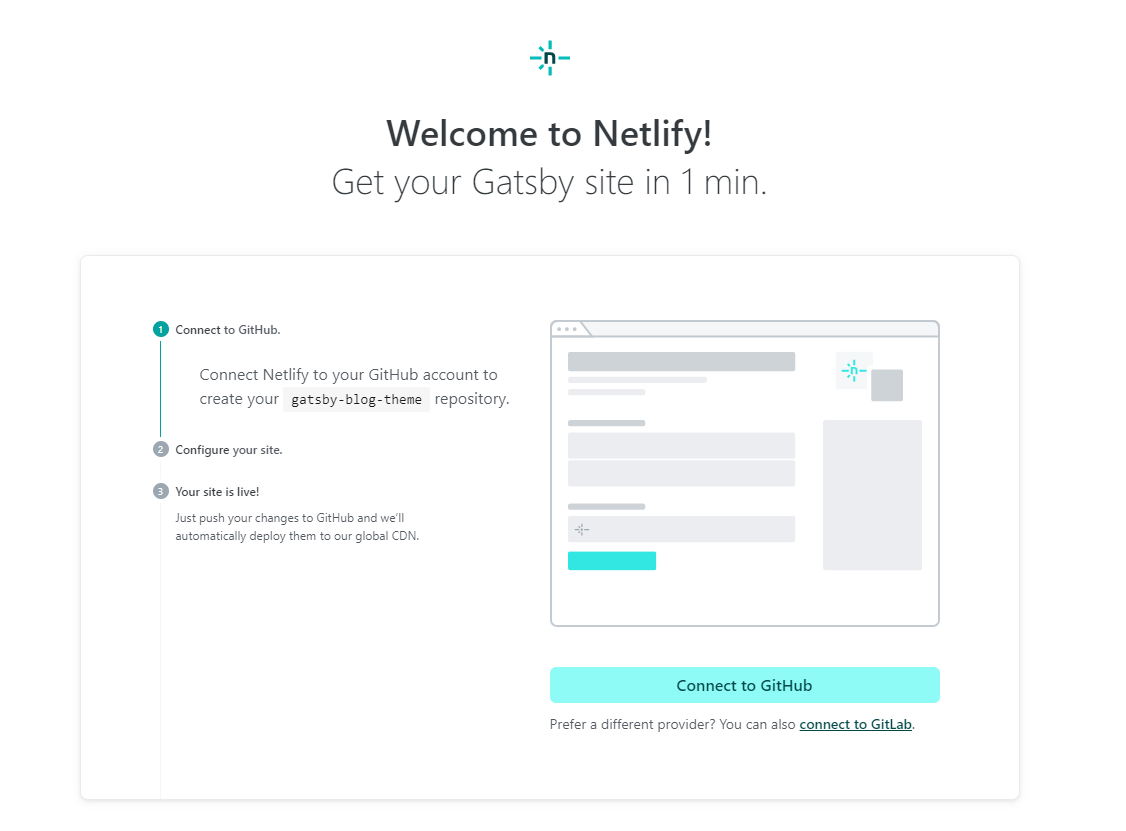
This will open the Netlify helper that will set up your Gatsby site:
After clicking on Connect to GitHub Netlify Auth will request some additional permissions as in the following pop-up:
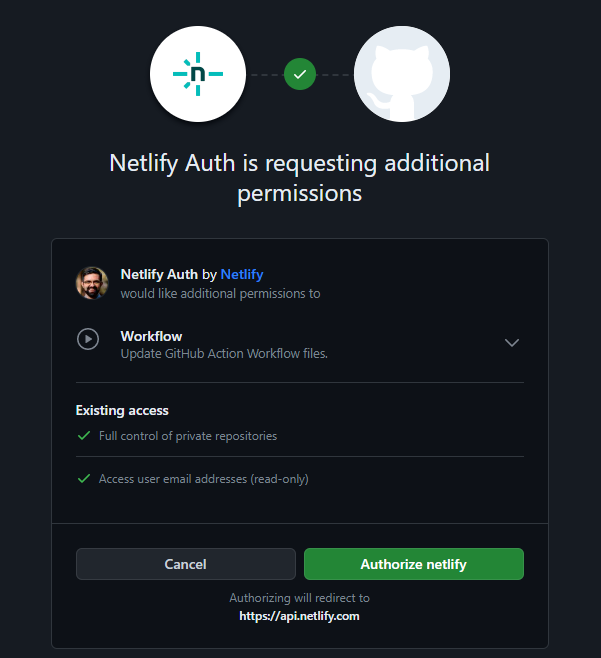
Click on the Authorize netlify button and it will lead you to the next screen:

Here, you can select the name for your repository that will be saved on your GitHub account, then select Save & Deploy aaaaaannnnd your site will be live in a matter of minutes 🤩 that simple 💪
After this step, you should be able to see your blog online by navigating to the link automatically generated by Netlify.
Note: you can update the URL in “Settings.”
3. Enable Identity in the Netlify account
This step and the following will enable you to log in to your admin panel for your blog.
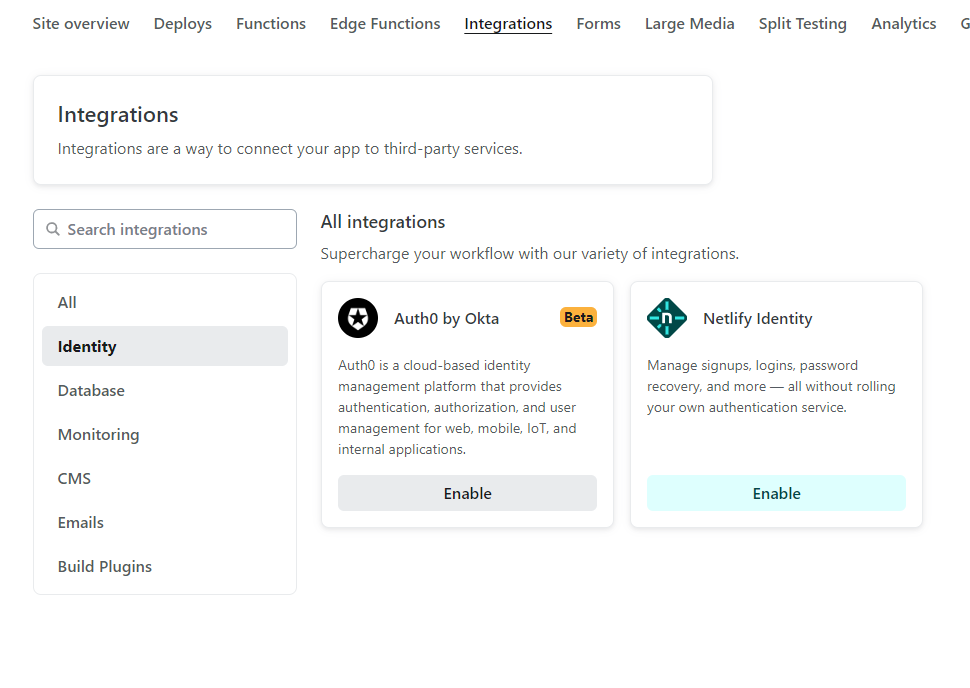
From the Netlify admin panel, select the Integrations tab, search for Identity and select Enable.
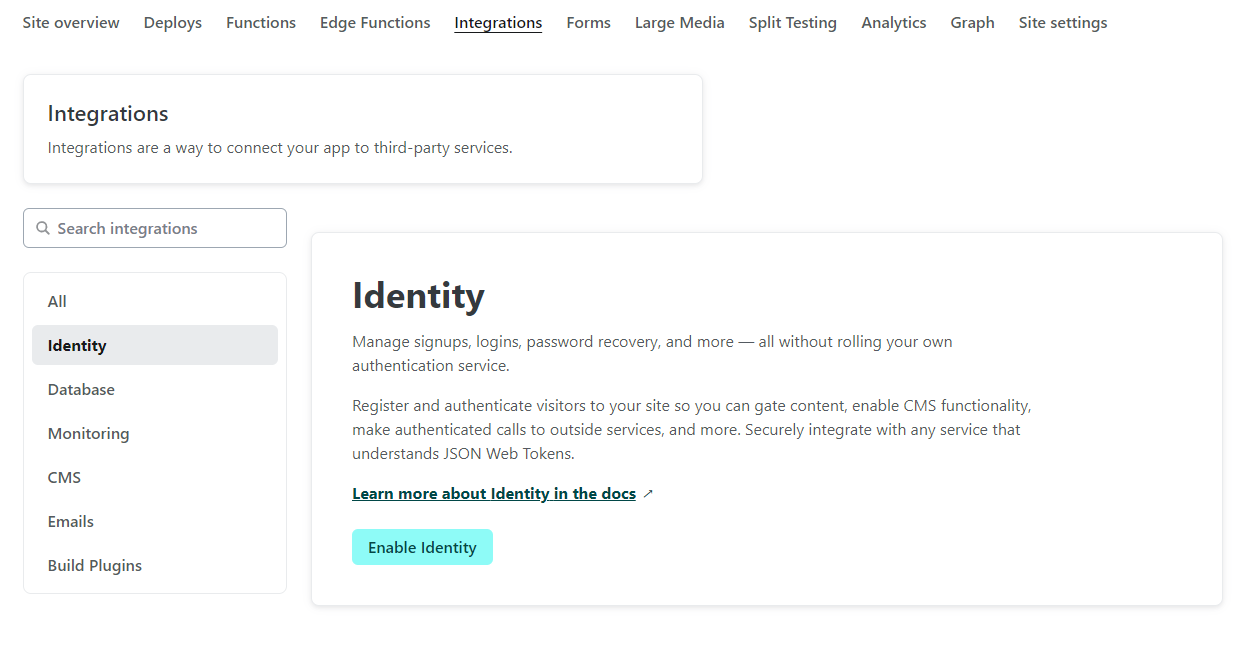
And in the Identity section select Enable Identity :
4. Enable Git Gateway from the Netlify account
You can enable Git Gateway after you enabled the Identity service.
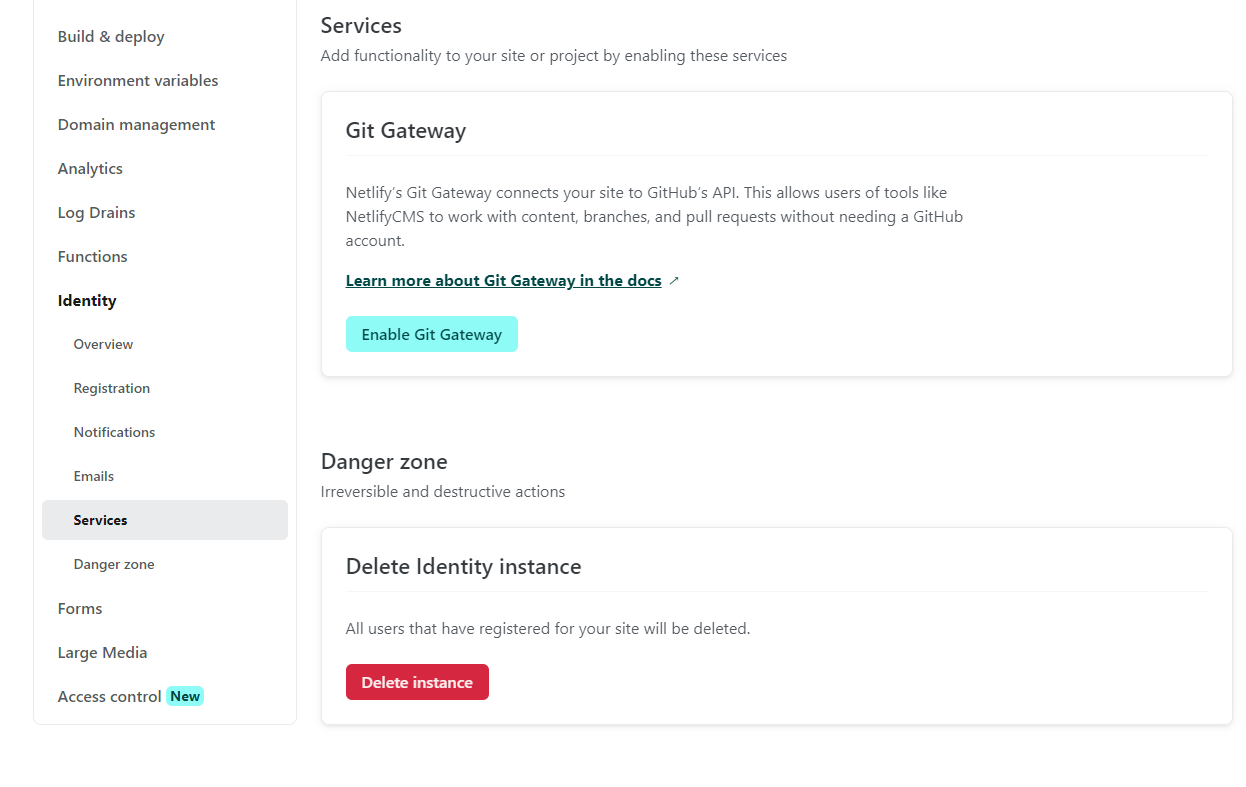
From the Netlify admin panel, go to Site settings, select Identity, search for Services, then Git Gateway and select Enable Git Gateway.
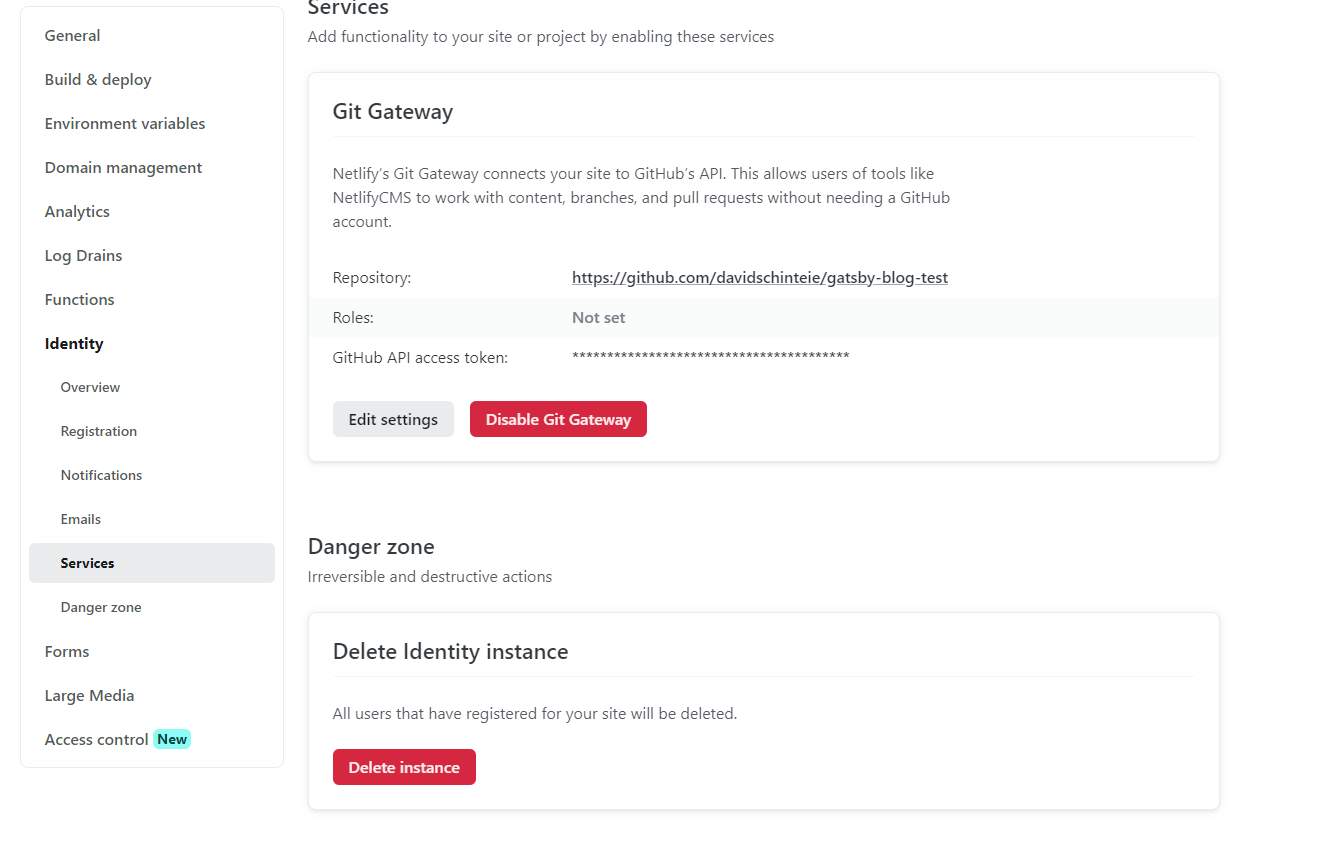
After enabling the git gateway your admin section should look like this:
5. Configure your CMS credentials
By this step, you should be able to navigate to your site link (it should look like this one: https://gatsby-blog-theme.netlify.app/ ) as well as the CMS admin (https://gatsby-blog-theme.netlify.app/admin).
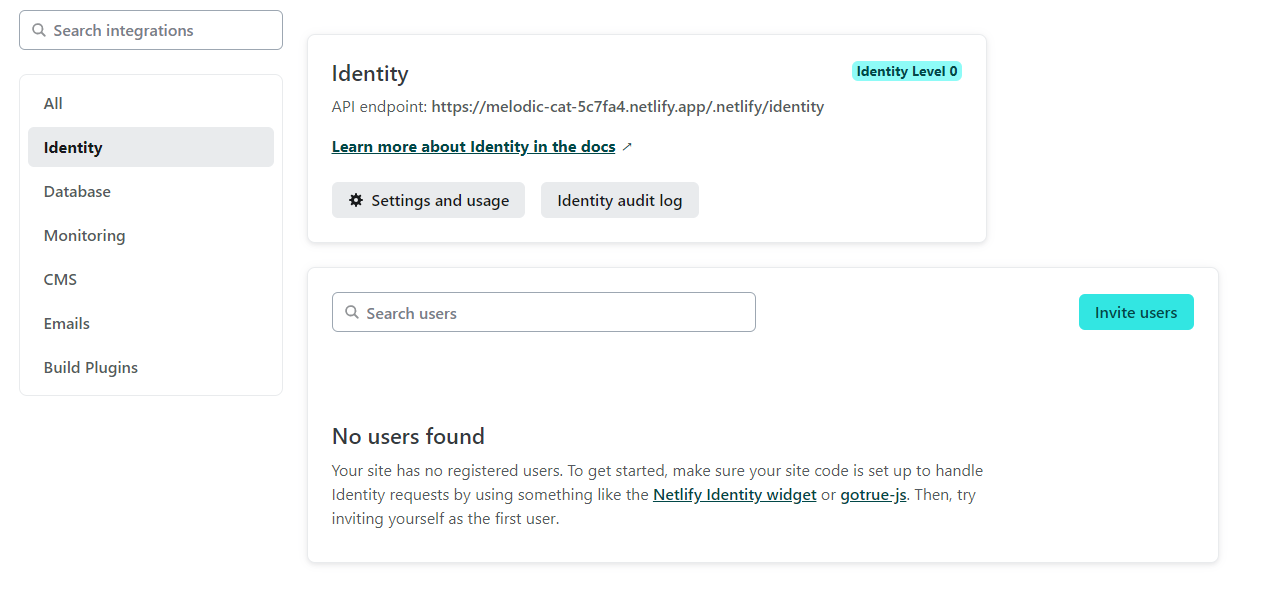
Now, we'll add your email address for your CMS account:
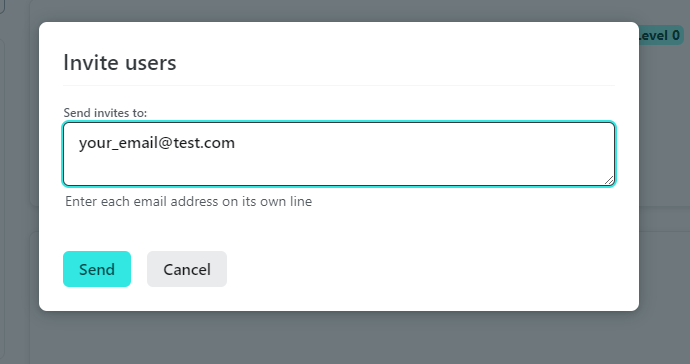
Under the Netlify admin panel, go to Integrations, then Identity and under Invite users insert your email address and click Send:
Go to your email address and search for your Netlify invitation email that should look like this:
You have been invited to create a user on http://gatsby-blog-theme.netlify.app.
Follow this link to accept the invite:
Accept the invite
After you clicked the invite link you should see the following screen:

By providing your password you should be able to navigate to your blog admin.
Note: the invitation link might be broken (at least that was in my case 🤷♂️) so if nothing happens by clicking on accept the invite, then you should adjust your link by adding admin/ before #invite_token=** as follows:
before:   http://my-gatsby-site.netlify.app/#invite_token=****

after:    http://my-gatsby-site.netlify.app/admin/#invite_token=****
6. Your blog CMS is live 🎉
Great job 💪🎉❤
Your blog link should be live as well as your admin where you should be able to edit your blog posts 😍
Now, you can make your story public on the wild web 🤩


