Firebase auth in a React app with TypeScript

As a Software Developer with over 7 years of experience in web development, I possess a high level of proficiency and creativity. I am dedicated to continuously improving my skills and knowledge in order to excel in my field.
Why Firebase?
When embarking on a React project, one of the crucial elements to consider is user authentication. Whether you're building a personal blog, an e-commerce platform, or a social networking site, ensuring that user data is secure and accessible only to authorized individuals is essential.
Building an authentication system from scratch can be a daunting and resource-intensive task. It presents challenges in terms of security, scalability, time, and user experience.
This is where Firebase, a cloud-based platform, comes to the rescue, making the process of implementing authentication in your React application a breeze.
Scope of this blog post
In this post, I'll share a simplified example of how to implement the login and registration parts using Firebase in a React application.
Note: Keep in mind that this is a basic example and should be enhanced for production use, including proper error handling and validation.
If you want to explore further, you have the option to check out the live demo project or have a look at the Git repository for more insights.
First part: Auth with user email & password
While Firebase offers multiple methods for authentication, including sign-in with Google, Facebook, and more, it also provides the fundamental and most straightforward approach: email and password authentication.
This method allows users to create accounts and log in securely using their email addresses and passwords, offering a basic yet highly effective way to authenticate users.
This means you can start with this basic setup and later incorporate additional authentication providers as your application's needs evolve.
1. Set up the Firebase project from the Firebase console
To begin, let's configure our Firebase project:
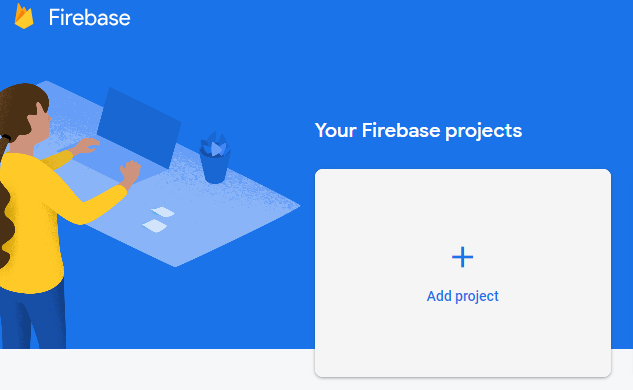
1.1. Create a New Firebase Project:
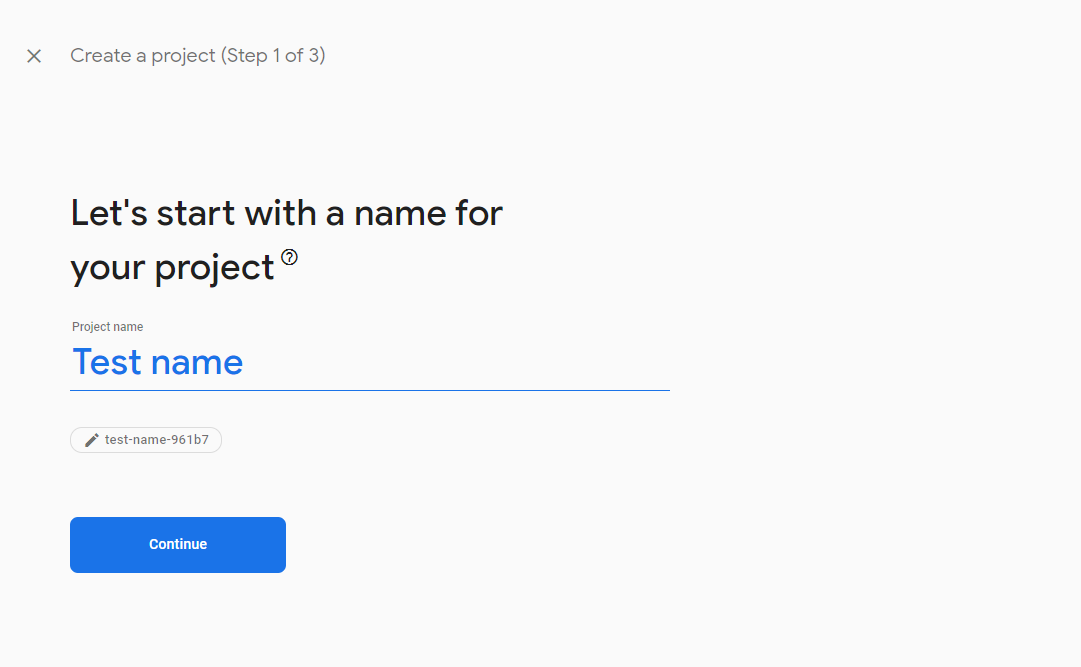
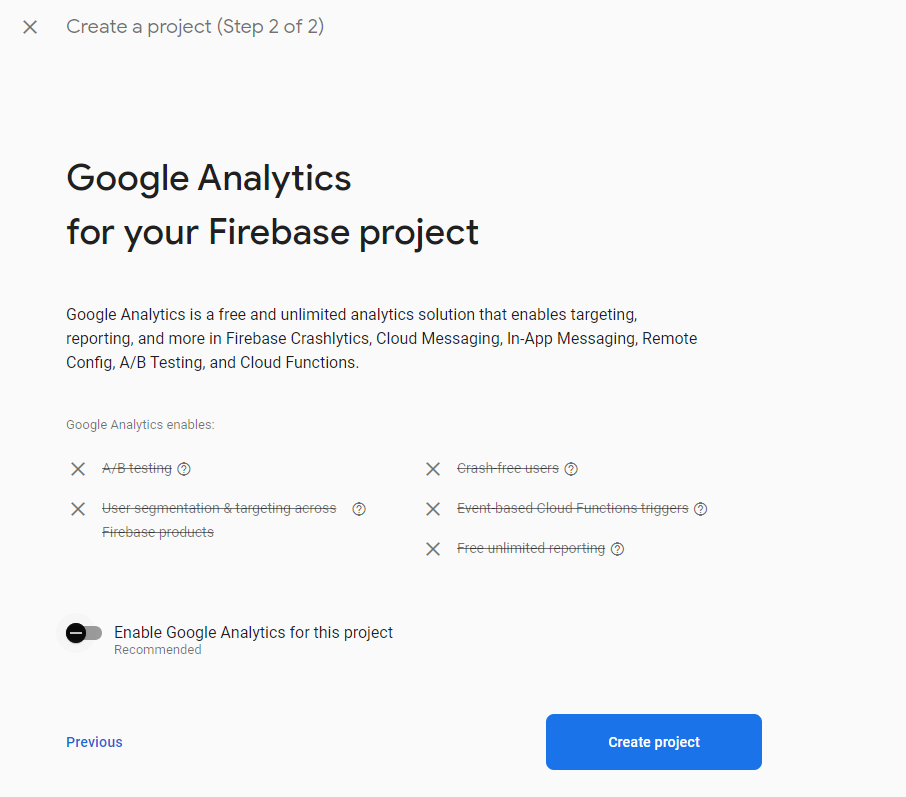
In your Firebase projects, click on "Add project." Provide a name for your project and, for now, opt to disable Google Analytics.
You can always enable it later if needed. Click "Create project."
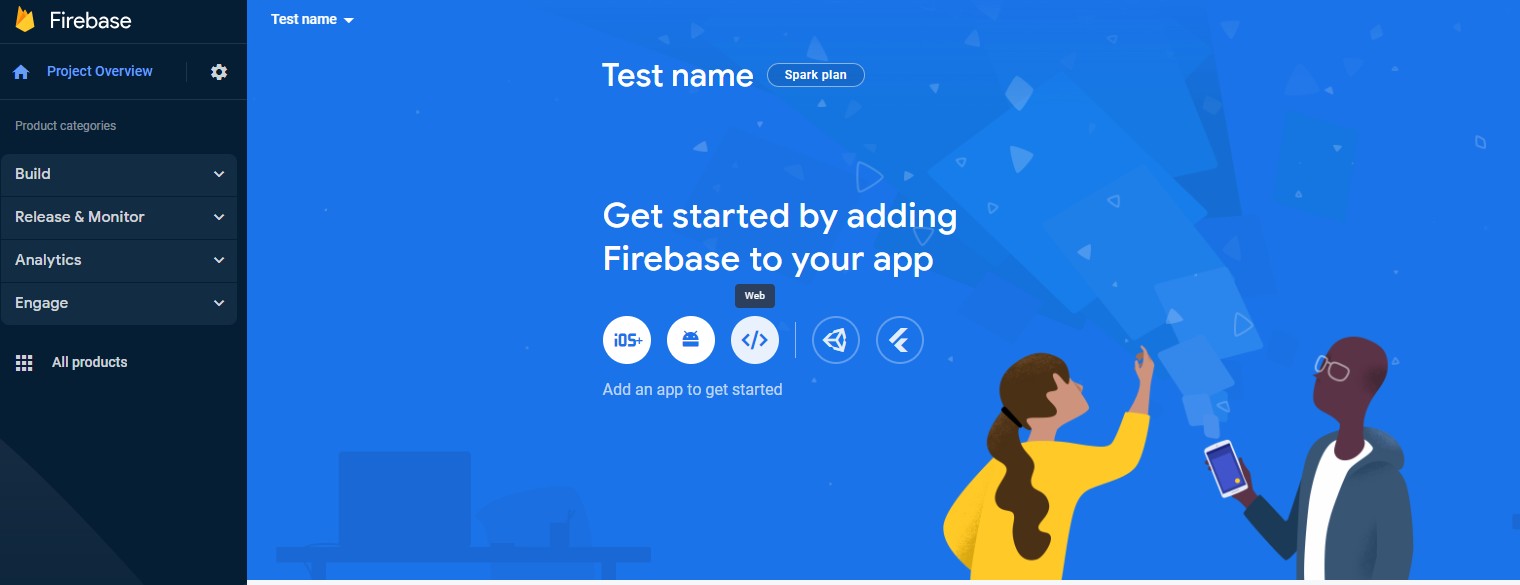
1.2. Access the Dashboard:
You'll be redirected to the main dashboard. From here, let's add a web app to our project.
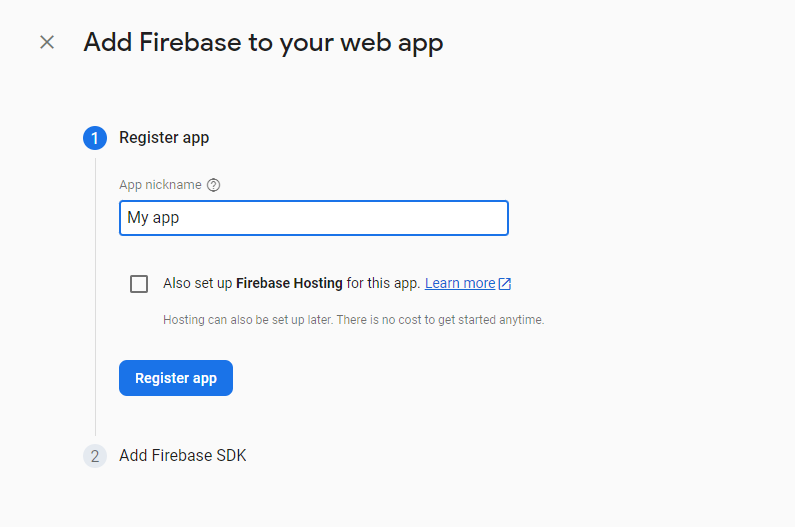
1.3 Retrieve Configuration Credentials:
You're almost there! Now, obtain the configuration credentials; we'll need these for our React app. Keep them handy.

2. Add Firebase Authentication to your app
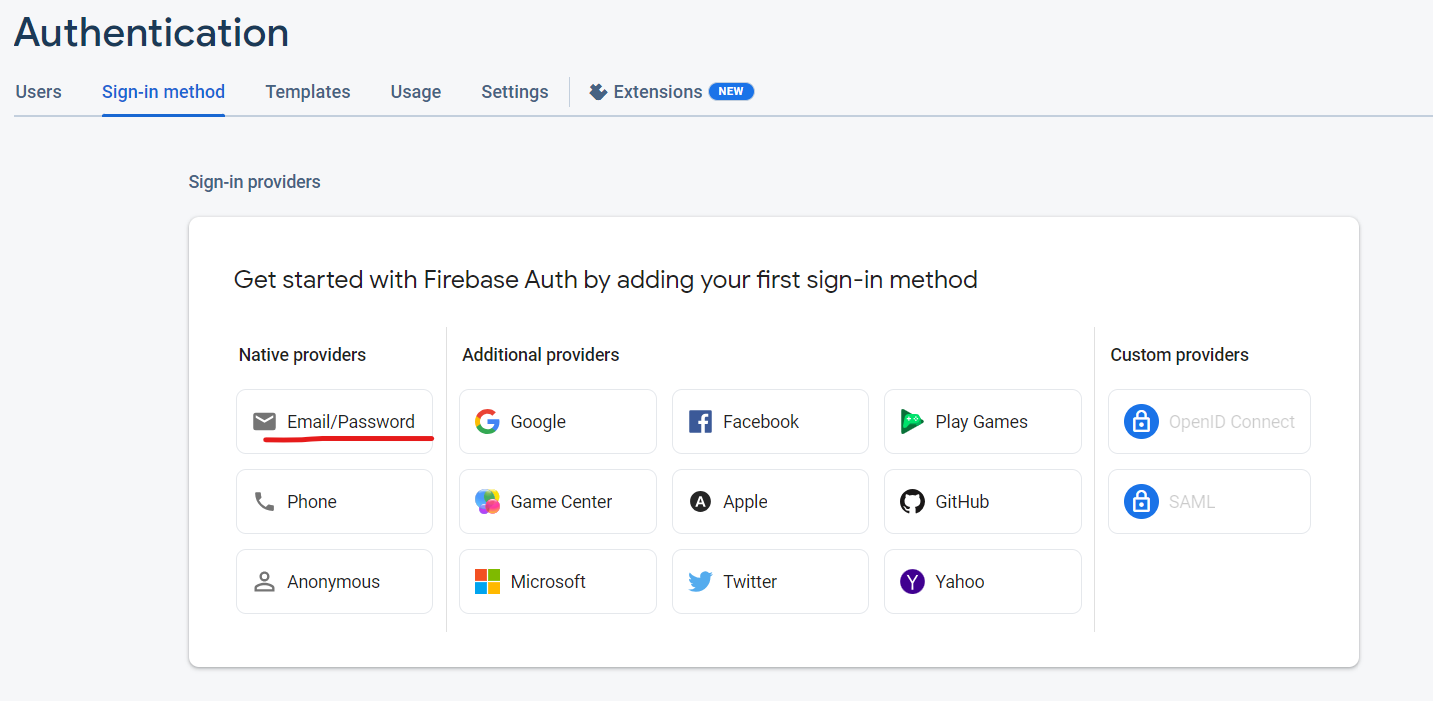
Navigate to the Authentication section in your console menu, then click 'Get started.'

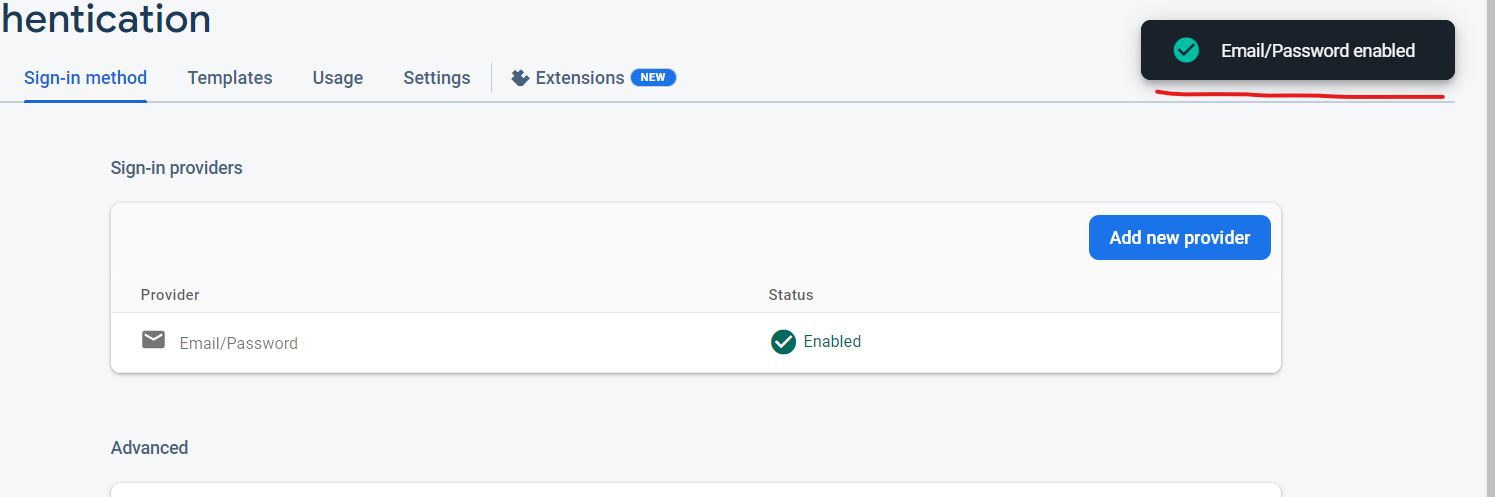
Now, within the Authentication panel, go to the Sign-in method settings, select 'Email/Password' for the time being, and enable the toggle.
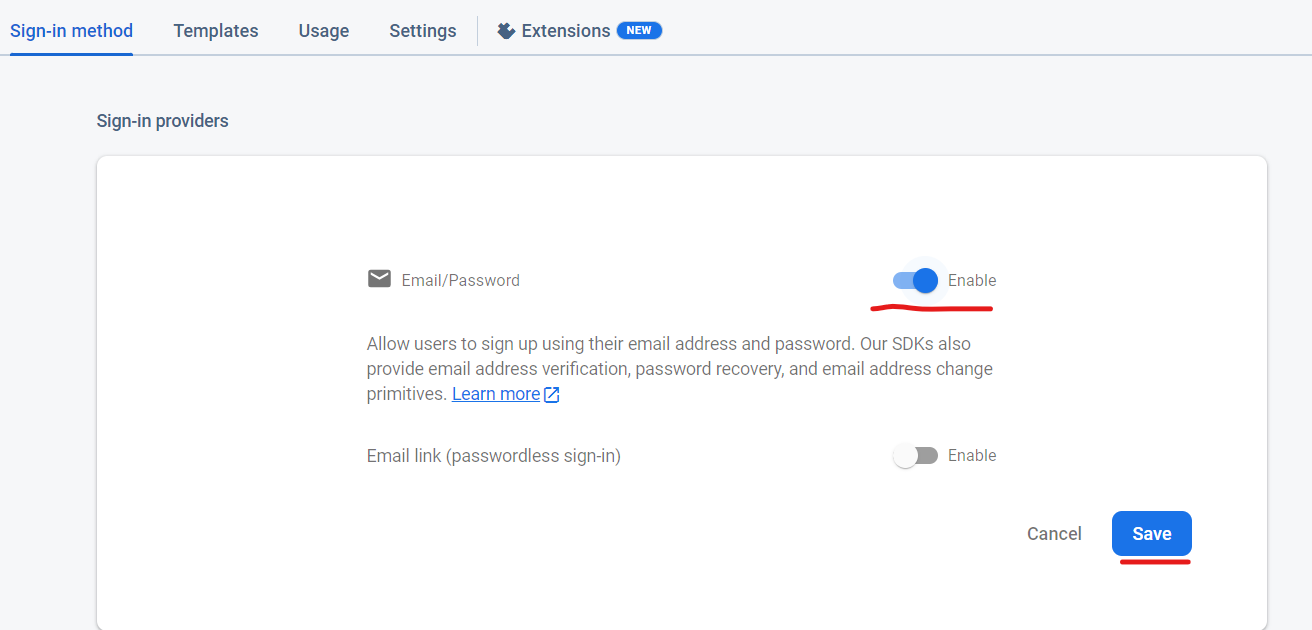
Congratulations! You should see a notification confirming that your authentication setup is complete and ready for implementation in your app.
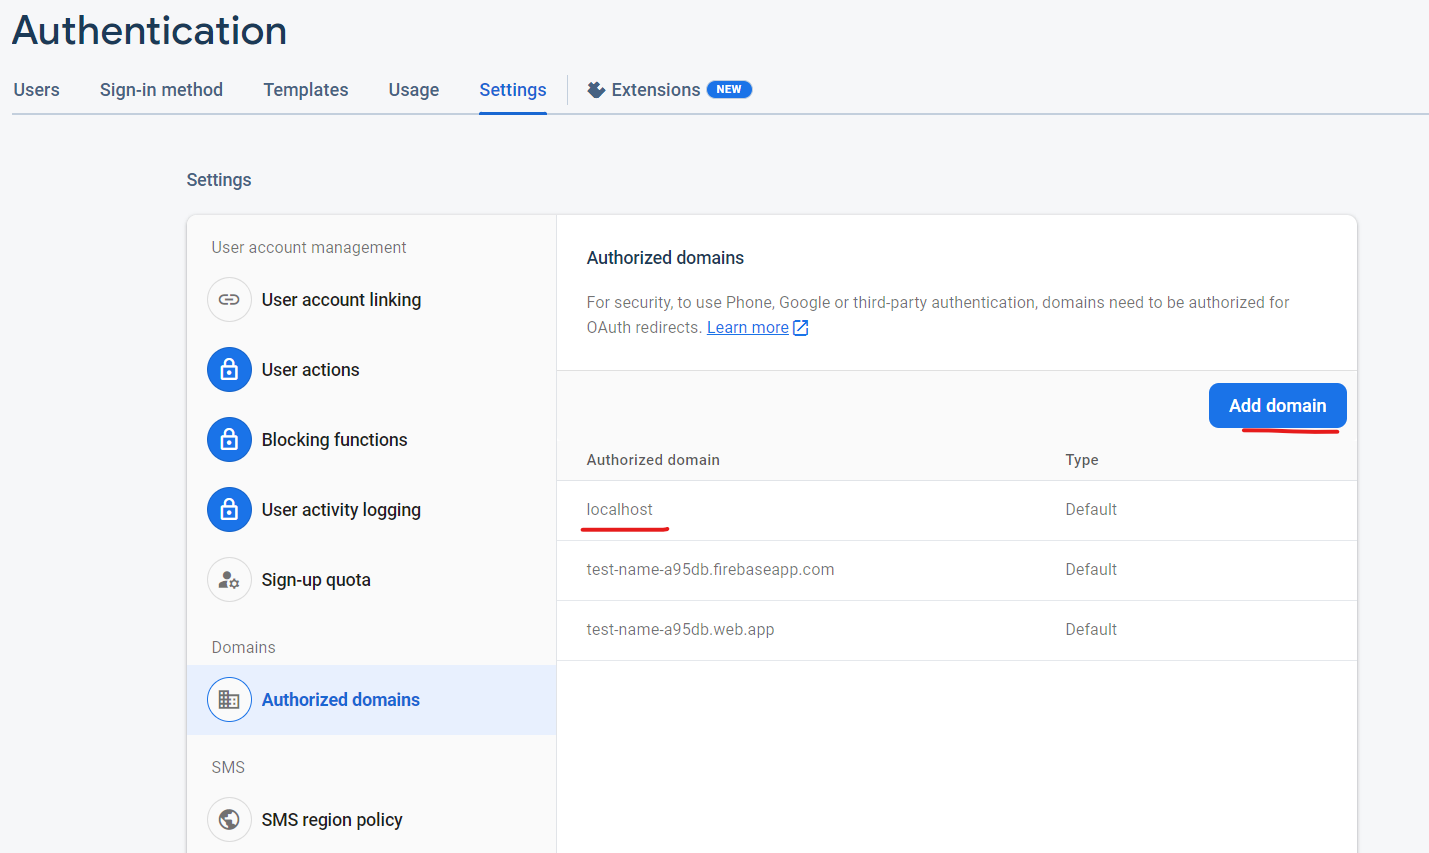
Additionally, ensure that you include your localhost and development URL in the Authorized Domains within the Authentication settings to be able to test it:
3. Optional: Add Cloud Firestore to your app
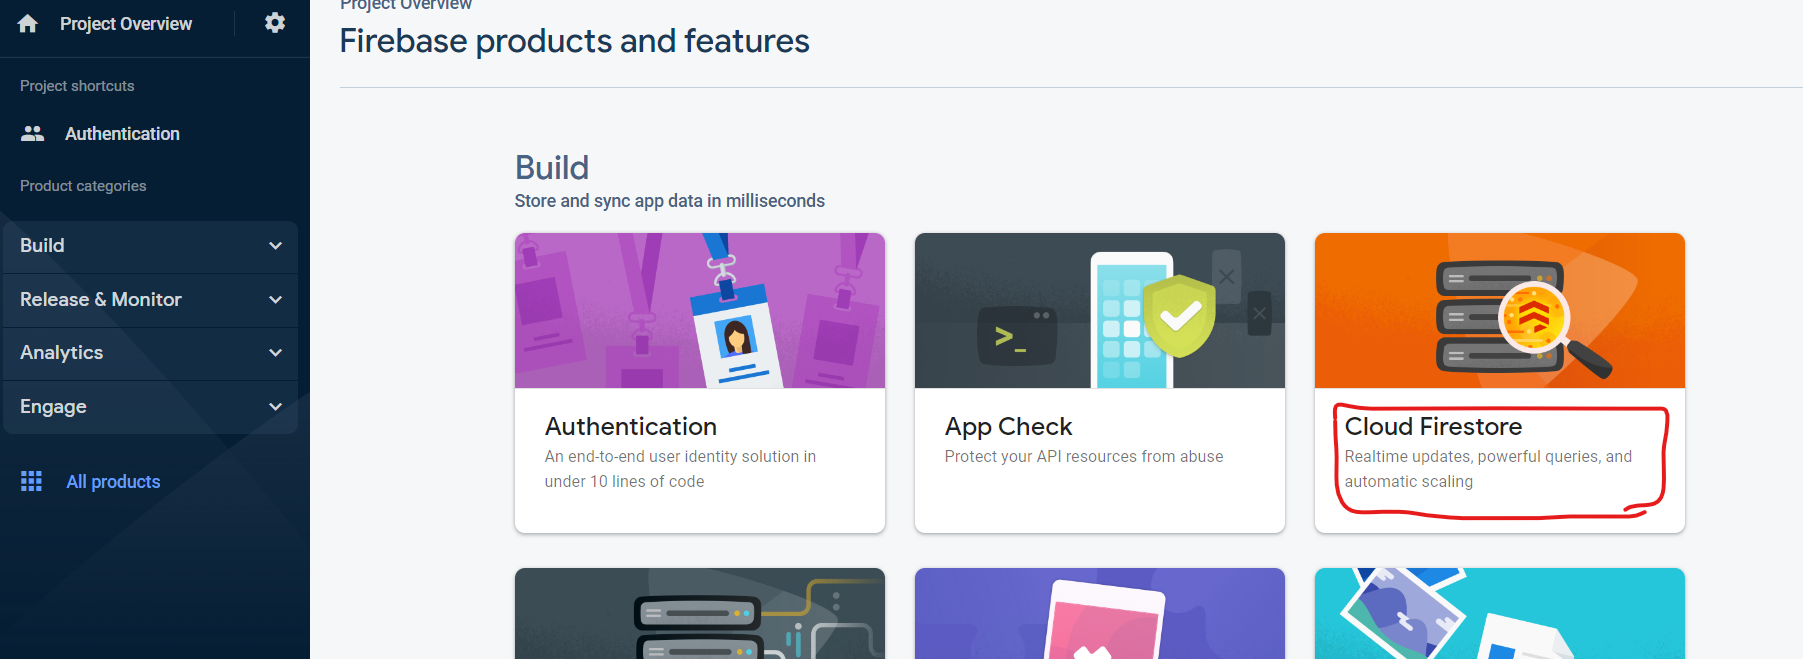
This feature will prove valuable down the road if we intend to store individualized data for each user. For instance, if we plan to offer users the ability to save specific products, we'll require a database to store user-product associations, and Cloud Firestore will do exactly that.
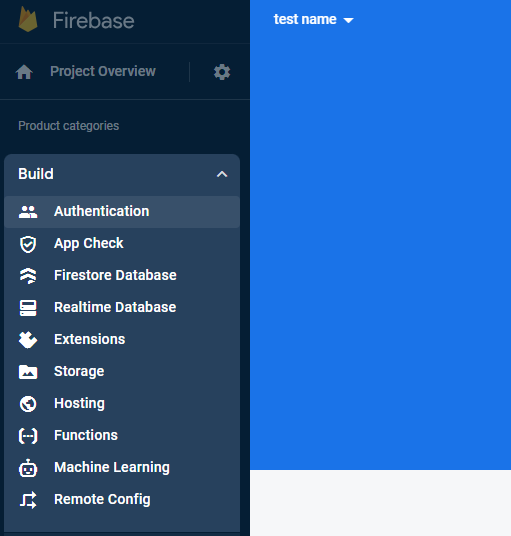
From the Build menu select Firebase Database or Cloud Firestore, then click 'Get started.'
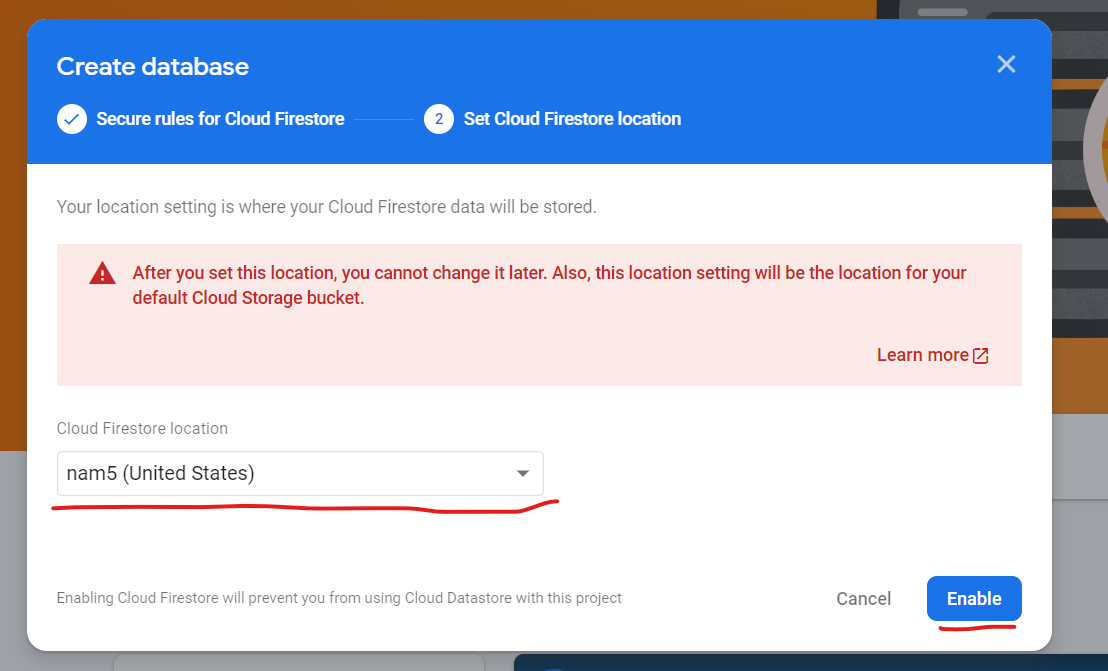
From the opened modal select "Start in production mode" and select a Database location, then click "Enable":
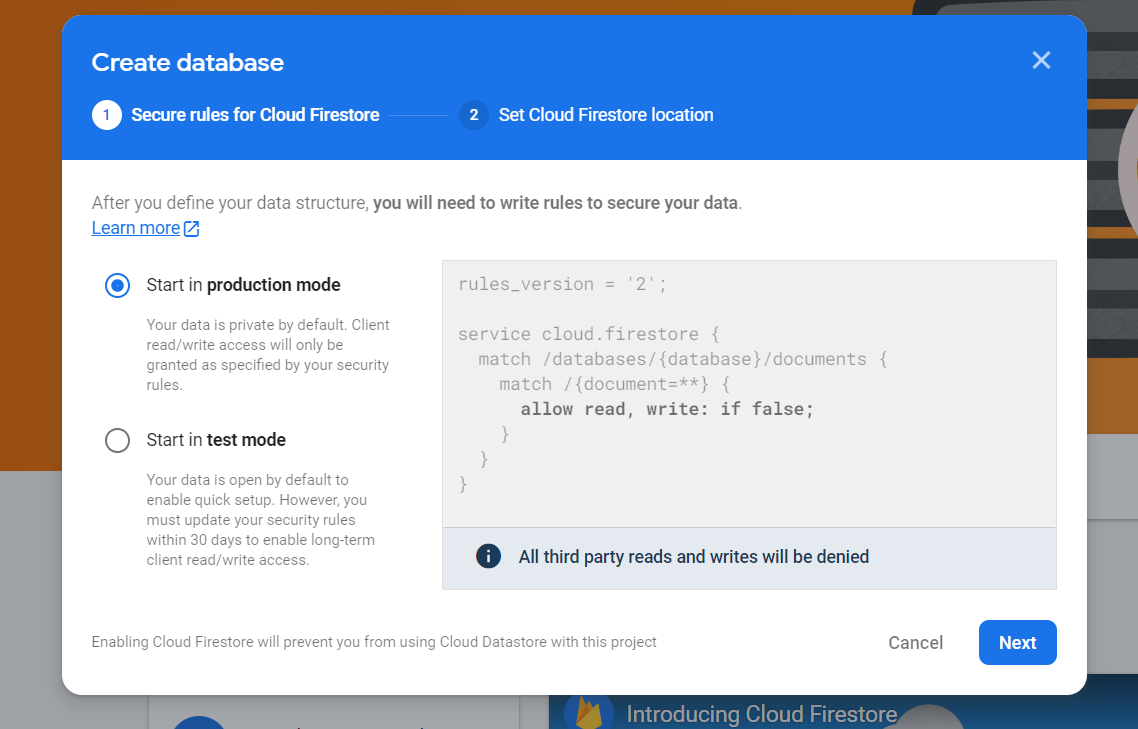
One more thing, allow read, write rule is set by default to false but we'll have to change it to true and hit "Publish":

4. Set up a React app with user management
4.1 Create a new React project:
To kickstart your React project, begin by utilizing a React template.
For this project, I opted for the Vite TypeScript template:
npm create vite@latest . -- --template react-ts
4.2 Craft Your User Interface:
Develop a user authentication form component and establish pages for both signing in and registering.
Although this tutorial doesn't dive deeply into UI design, I've included a link to a CodeSandbox project showcasing a template that can be used.
This demo includes customized styling of the sign-in & register forms with CSS Modules and utilizes React Router for /sign-in and /register routes.
4.3 User Auth Context
We'll need to store the user once they have logged in and to accomplish this, we will use React Context along with certain hooks to simplify the process.
To begin, establish a types file where we will store our UserType:
// /src/types/index.ts
export interface UserType {
  userId: string;
  name: string;
  email: string;
  authToken?: string;
}
Next, create a new directory called 'context,' and within it, include the AuthContext file containing the following code:
// /src/context/AuthContext.ts
import { createContext } from "react";
import { UserType } from "../types";

interface AuthContext {
  user: UserType | null;
  setUser: (user: UserType | null) => void;
}

export const AuthContext = createContext<AuthContext>({
  user: null,
  setUser: () => {},
});
Afterward, within the App.tsx file, insert the following code:
// App.tsx
import { AuthContext } from "./context/AuthContext";
import { useState } from "react";
import { UserType } from "./types";
...

function App() {
  const [user, setUser] = useState<UserType | null>(null);
  return (
    <Router>
      <AuthContext.Provider value={{ user, setUser }}>
        <Routes>
          ...
        </Routes>
      </AuthContext.Provider>
    </Router>
  );
}
Furthermore, the following hooks will help us to handle adding and removing the user once they are logged in:
// src/hooks/useUser.ts
import { useContext } from "react";
import { AuthContext } from "../context/AuthContext";
import { UserType } from "../types";

export const useUser = () => {
  const { user, setUser } = useContext(AuthContext);

  const addUser = (user: UserType) => {
    setUser(user);
  };

  const removeUser = () => {
    setUser(null);
  };

  return { user, addUser, removeUser };
};
// src/hooks/useAuth.ts
import { UserType } from "../types";
import { useUser } from "./useUser";

export const useAuth = () => {
  const { user, addUser, removeUser } = useUser();

  const login = (user: UserType) => {
    addUser(user);
  };

  const logout = () => {
    removeUser();
  };

  return { user, login, logout };
};
You can review the updated code on the following CodeSandbox link:
As you can observe, you can now access the user's logged-in information throughout the app.
4.4 Optional: User Session storage
As an optional additional step, we can incorporate session storage for storing user information that will enhance our application's user experience.
To achieve this, we'll include the useSessionStorage hook as shown below:
// src/hooks/useSessionStorage.ts
import { useState } from "react";

export const useSessionStorage = () => {
  const [value, setValue] = useState<string | null>(null);

  const setItemSession = (key: string, value: string) => {
    sessionStorage.setItem(key, value);
    setValue(value);
  };

  const getItemSession = (key: string) => {
    const value = sessionStorage.getItem(key);
    setValue(value);
    return value;
  };

  const removeItemSession = (key: string) => {
    sessionStorage.removeItem(key);
    setValue(null);
  };

  return { value, setItemSession, getItemSession, removeItemSession };
};
We'll also have to update our useUser hook as follows:
// src/hooks/useUser.ts
...
import { useSessionStorage } from "./useSessionStorage";

export const useUser = () => {
  ...
  const { setItemSession } = useSessionStorage();

  const addUser = (user: UserType) => {
    ...
    if (sessionStorage.getItem("user")) {
      setItemSession("user", "");
    } else {
      setItemSession("user", JSON.stringify(user));
    }
  };

  const removeUser = () => {
    ...
    if (sessionStorage.getItem("user")) {
      setItemSession("user", "");
    }
  };

  ...
};
And the App.tsx file:
function App() {
  const userFromStorage = sessionStorage.getItem("user");
  const [user, setUser] = useState<UserType | null>(
    userFromStorage ? JSON.parse(userFromStorage) : null
  );
  return (
    ...
  );
}
Thus far, it's a straightforward approach to user management for a React app utilizing Context.
5. Set up Firebase in our React app
5.1 Initialize Firebase in your app:
First of all, we'll have to install the firebase npm package:
npm install firebase
Create a .env file to securely store your Firebase credentials, similar to the example below:
VITE_FIREBASE_API_KEY=****************
VITE_FIREBASE_AUTH_DOMAIN=****************
VITE_FIREBASE_PROJECT_ID=****************
VITE_FIREBASE_STORAGE_BUCKET=****************
VITE_FIREBASE_MESSAGING_SENDER_ID=****************
VITE_FIREBASE_APP_ID=****************
Additionally, ensure that you exclude this file from your Git commits by updating your .gitignore file with the following line:
# local environment variables
.env
Then, proceed to set up Firebase within your application by creating a file named firebase.ts. I've chosen to create a utils folder for this purpose, but how you choose to organize your code is entirely based on your personal preference.
import { initializeApp } from "firebase/app";

const firebaseConfig = {
  apiKey: import.meta.env.VITE_FIREBASE_API_KEY,
  authDomain: import.meta.env.VITE_FIREBASE_AUTH_DOMAIN,
  databaseURL: import.meta.env.VITE_FIREBASE_DATABASE_URL,
  projectId: import.meta.env.VITE_FIREBASE_PROJECT_ID,
  storageBucket: import.meta.env.VITE_FIREBASE_STORAGE_BUCKET,
  messagingSenderId: import.meta.env.VITE_FIREBASE_MESSAGING_SENDER_ID,
  appId: import.meta.env.VITE_FIREBASE_APP_ID,
};

// Initialize Firebase
const firebaseApp = initializeApp(firebaseConfig);
5.2 Wrapper functions for Firebase auth:
In the upcoming step, we will introduce our custom wrapper functions for Firebase's signIn, createUser, and signOut operations.
Initially, I implemented the logInWithEmailAndPassword function, designed to manage email and password-based logins while gracefully handling error scenarios.
To achieve this, I added the following code within the firebase.ts file:
import {
  ... // all the other imports
  User,
  getAuth,
  signInWithEmailAndPassword
} from "firebase/auth";

...

const auth = getAuth(firebaseApp);

export const logInWithEmailAndPassword = async (
  email: string,
  password: string
): Promise<User | null> => {
  try {
    const res = await signInWithEmailAndPassword(auth, email, password);
    return res.user;
  } catch (err) {
    if (err instanceof Error) {
      // Handle authentication-specific errors gracefully
      console.error(err.message);
      alert(err.message);
    } else {
      console.error("Unexpected error", err);
    }
    return null; // Return null in case of error
  }
};
Moving on, we'll follow a similar approach to the registration process.
I've created the registerWithEmailAndPassword function to not only handle email and password-based sign-ups while managing errors effectively but also to store the newly created user in our Firebase database.
This stored user data will be helpful in the future if we need to save specific information for each user.
import {
  ... // all the other imports
  createUserWithEmailAndPassword
} from "firebase/auth";
import { doc, getFirestore, setDoc } from "firebase/firestore";

...
const db = getFirestore(firebaseApp);

export const registerWithEmailAndPassword = async (
  name: string,
  email: string,
  password: string
): Promise<User | null> => {
  try {
    const res = await createUserWithEmailAndPassword(auth, email, password);

    const userData = {
      uid: res.user.uid,
      name,
      email: res.user.email,
      images: [],
    };

    await setDoc(doc(db, "users", res.user.uid), userData);

    return res.user;
  } catch (err) {
    if (err instanceof Error) {
      // Handle authentication-specific errors gracefully
      console.error(err.message);
      alert(err.message);
    } else {
      console.error("Unexpected error", err);
    }
    return null; // Return null in case of error
  }
};
The final and most straightforward wrapper function is the logoutFirebase function.
It's written as a wrapper function in the Firebase utils file so that it can be easily imported and used throughout the app, especially in scenarios where the logout action needs to be triggered from multiple locations within the application.
export const logoutFirebase = () => {
  signOut(auth);
};
5.3 React Firebase Login:
Now that we have in place all the Firebase functions and the user login hook, we can implement the Form functionality.
In the AuthForm component, I added the following lines of code:
import { ..., useNavigate } from "react-router-dom";
import { useAuth } from "../hooks/useAuth";
import {
  logInWithEmailAndPassword,
  registerWithEmailAndPassword
} from "../utils/firebase";
...
const [isSubmitting, setIsSubmitting] = useState(false);
const navigate = useNavigate();
const { login } = useAuth();

const handleSubmit = async (event: React.FormEvent<HTMLFormElement>) => {
    event.preventDefault();

    // handle user logIn / register
    try {
      let user = null;
      setIsSubmitting(true);
      if (mode === "signin") {
        user = await logInWithEmailAndPassword(
          formState.email,
          formState.password
        );
      } else {
        user = await registerWithEmailAndPassword(
          formState.name,
          formState.email,
          formState.password
        );
      }
      if (user !== null) {
        const userData = {
          userId: user.uid || "",
          name: user.displayName || "",
          email: user.email || "",
        };

        login(userData);
        navigate("/");
      }
      setIsSubmitting(false);
    } catch (err) {
      if (err instanceof Error) {
        // Handle authentication-specific errors gracefully
        console.error(err.message);
        alert(err.message);
      } else {
        console.error("Unexpected error", err);
      }
      return null; // Return null in case of error
    }
};
...
Great, now that we've set up email and password authentication in our app, the final step is to implement authentication with Google
Second part: Auth with Google
It's not too challenging once you've completed all the preceding steps.
1. Update Firebase Console:
Initially, we'll need to activate Google authentication through the Firebase console:
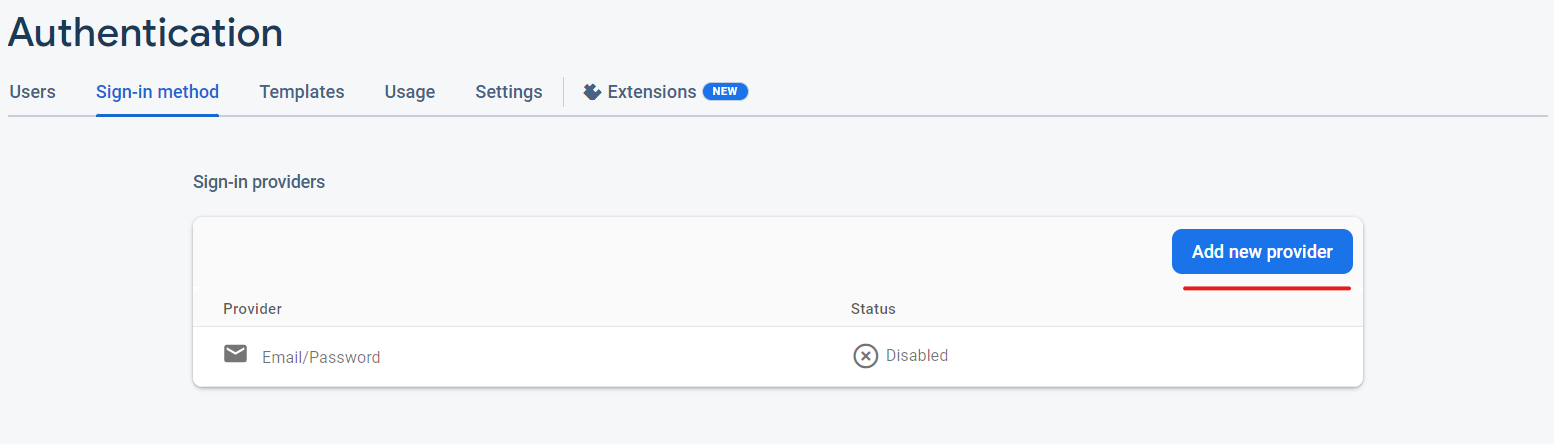
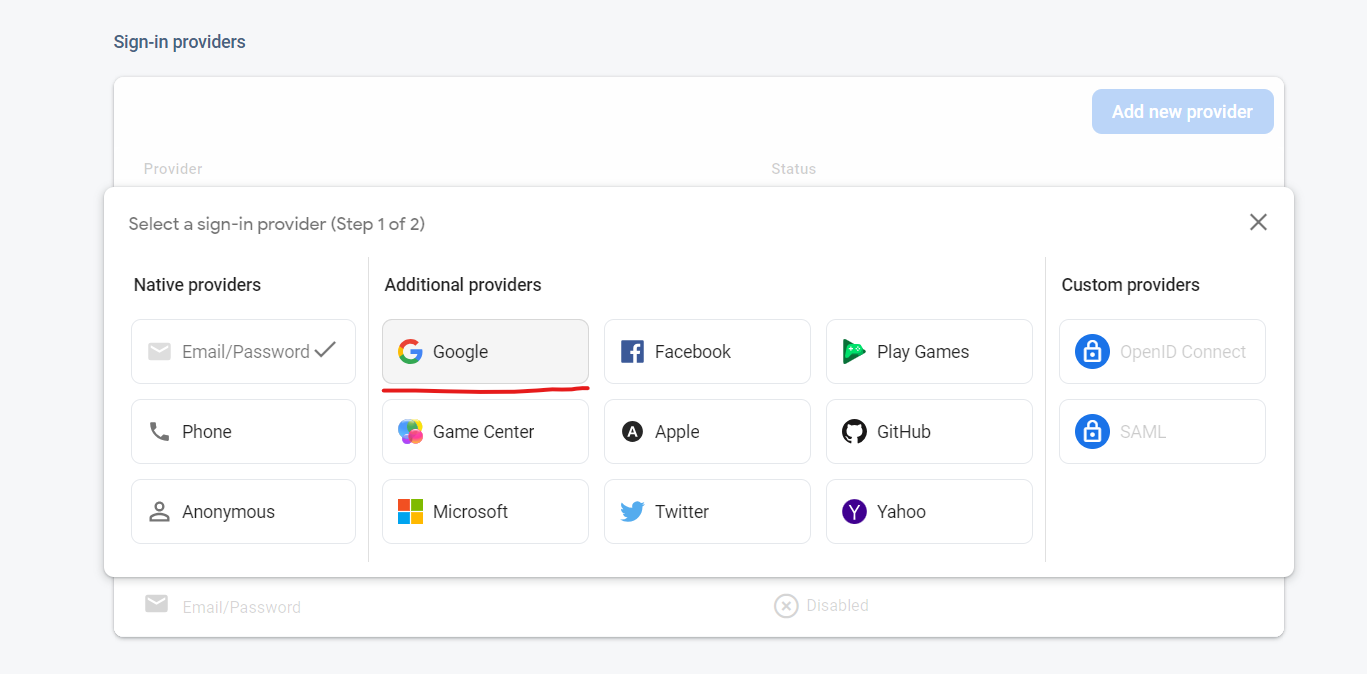
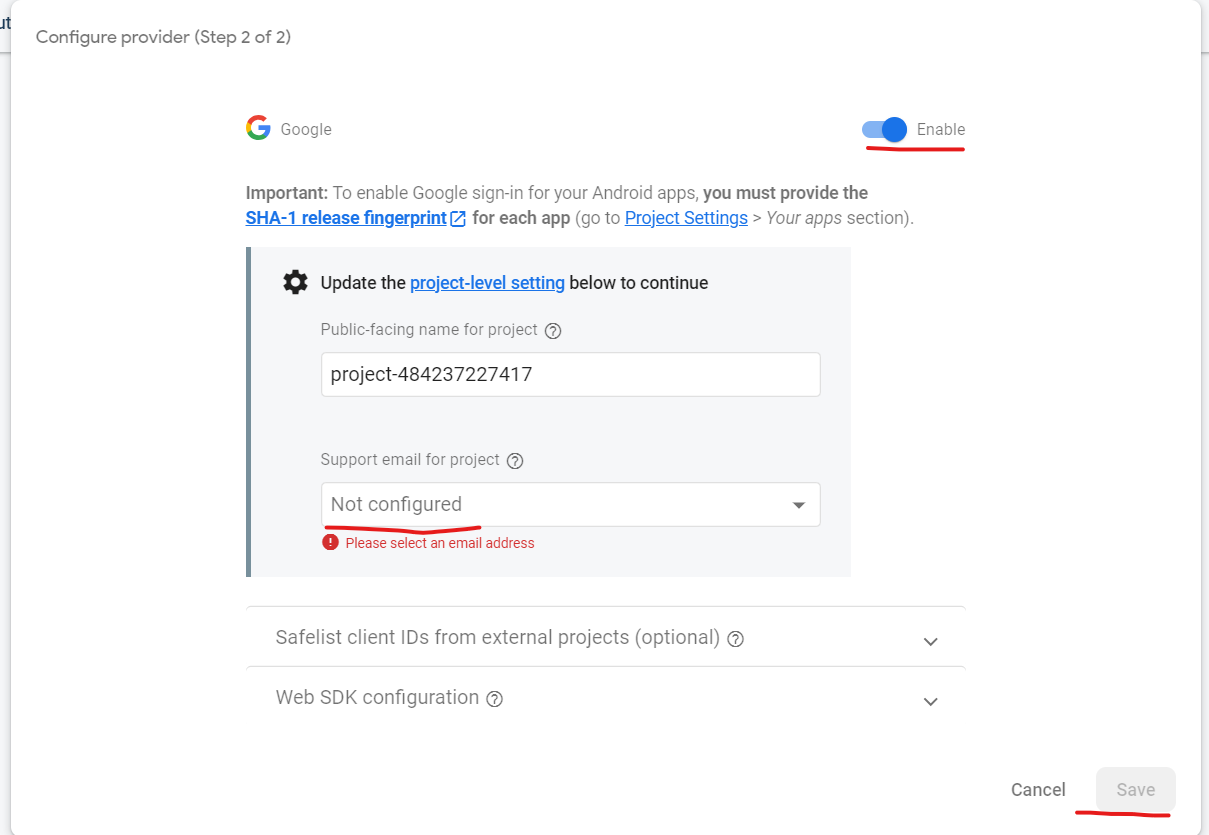
Enable the Google provider and select the support email for the project:
2. Update project code:
Afterward, we'll incorporate our wrapper function into the firebase.ts file:
// src/utils/firebase.ts
import {
  ...,
  GoogleAuthProvider,
  signInWithPopup,
} from "firebase/auth";

...

// Google Auth function
const googleProvider = new GoogleAuthProvider();

export const signInWithGoogle = async () => {
  try {
    // Sign in with Google
    const authResult = await signInWithPopup(auth, googleProvider);

    // Check if the user already exists in the database
    const userDocRef = doc(db, "users", authResult.user.uid);
    const userDocSnapshot = await getDoc(userDocRef);

    if (!userDocSnapshot.exists()) {
      console.log("Adding a new user to the database.");
      // Add the user to the database if they don't exist
      const userData = {
        uid: authResult.user.uid,
        name: authResult.user.displayName,
        email: authResult.user.email,
      };
      await setDoc(userDocRef, userData);
    }

    return authResult.user;
  } catch (err) {
    console.error("Error during Google sign-in:", err);

    if (err instanceof Error) {
      // Handle authentication-specific errors gracefully
      alert(err.message);
    }

    return null; // Return null in case of error
  }
};
All we need to do right now is to enhance our auth form with the Google button:
// src/components/AuthForm.tsx
...
import { FcGoogle } from "react-icons/fc";
import {
  ...,
  signInWithGoogle,
} from "../utils/firebase";

const AuthForm = (...) => {
  ...

  const handleSignInWithGoogle = async () => {
    const user = await signInWithGoogle();
    if (user !== null) {
      const userData = {
        userId: user.uid || "",
        name: user.displayName || "",
        email: user.email || "",
      };

      login(userData);
      navigate("/");
    }
  };

  return (
    ...
      <button
        onClick={(event) => {
          event.preventDefault();
          handleSignInWithGoogle();
        }}
        className={styles.googleBtn}
      >
        <FcGoogle />
        <span>Sign In with Google</span>
      </button>

      ...
  );
};

export default AuthForm;
And there you have it, our app now offers users the option to authenticate using Google.
Conclusion
We've explored the step-by-step process of setting up Firebase authentication, and now you have a powerful tool to handle user registration and login seamlessly.
For more insights, you can either examine the live demo project or have a look at the Git repository.
References:


